Open Source Resources To Get Into Tech

App for Getting started with Tech
Lets create a cross platform app which contains links to various important resources to get started with becoming a developer
Prerequisites
Install flutter from the link below
What is Flutter ??
Flutter is Google’s UI toolkit for building beautiful, natively compiled applications for mobile, web, and desktop from a single codebase.
Say what?? a single framework for web , mobile , desktop ?? Even on a Raspberry Pi : >
The basics of Flutter can be learned in the link below
Create a new project in flutter
$ flutter create my_project_name
Main Screens of the App
First Screen
Carousel Widget
This is the first screen that the user is greeted with , it contains three images with a scrollable list of items
Go to the pubspec yaml and add the dependencies
dependencies:
flutter:
sdk: flutter
carousel_pro: ^1.0.0
webview_flutter:
Then import this package in your main.dart along with the code below to create a carousel
import 'package:flutter/material.dart';
import 'package:carousel_pro/carousel_pro.dart';
import 'package:webview_flutter/webview_flutter.dart';

void main(List<String> args) {
runApp(
    MaterialApp(
    debugShowCheckedModeBanner: false,
    home: MyApp(),
    ),
);
}

class MyApp extends StatefulWidget {
@override
_State createState() => _State();
}

class _State extends State<MyApp> {
@override
Widget build(BuildContext context) {
    return MaterialApp(
    debugShowCheckedModeBanner: false,
    home: Scaffold(
        body: new Carousel(
        boxFit: BoxFit.fitWidth,
        images: [
            new NetworkImage("https://dogecoin.com/imgs/doge.png"),
            new NetworkImage(
                'https://lh4.googleusercontent.com/njmacjXG5DhDcvSpCy6xd584sMRXIwoFxXliEZitBH4OqvK4IT_Zfi6DOuUQcsZNBeURhMtJoBhpLiiTqq6HL3yWmV9Kbpeq0LNbtxLANgAoYfk8rzJMsBYrzSKfTxyQp5Fw499f'),
            new NetworkImage(
                'https://blockchainedu.org/static/media/ben-full-logo.3f23ec07.png'),
        ],
        animationDuration: Duration(seconds: 5),
        ),
        floatingActionButton: FloatingActionButton(
        onPressed: () {
            Navigator.push(context,
                MaterialPageRoute(builder: (context) => SecondScreen()));
        },
        child: Icon(Icons.arrow_forward),
        backgroundColor: Colors.black,
        ),
    ),
    );
}
}
Second Screen Of the app:

In the body field of the material App we have a list view widget , which is basically a scrollable list of items , It can have many children
Next we have a card which is wrapped with an inkWell so that the entire card when clicked anywhere can open a link or a website , We use the onTapped property to navigate to a specific webview in the app without shifting to a browser
class SecondScreen extends StatefulWidget {
@override
_SecondScreenState createState() => _SecondScreenState();
}
class _SecondScreenState extends State<SecondScreen> {
@override
Widget build(BuildContext context) {
return MaterialApp(
debugShowCheckedModeBanner: false,
home: Scaffold(
backgroundColor: Colors.black,
appBar: AppBar(
title: Text('Free Courses'),
backgroundColor: Colors.black,
),
floatingActionButton: FloatingActionButton(
onPressed: () {
Navigator.push(context,
MaterialPageRoute(builder: (context) => Documentation()));
},
child: Icon(Icons.arrow_forward),
backgroundColor: Colors.black,
),
body: ListView(
children: <Widget>[
InkWell(
onTap: () {
Navigator.push(
context, MaterialPageRoute(builder: (context) => Ben()));
},
child: Card(
child: Column(
mainAxisSize: MainAxisSize.min,
children: <Widget>[
ListTile(
leading: new Image.network(
"https://news.bitcoin.com/wp-content/uploads/2017/07/black-square-logo-color-300x300.png",
height: 300,
width: 150,
),
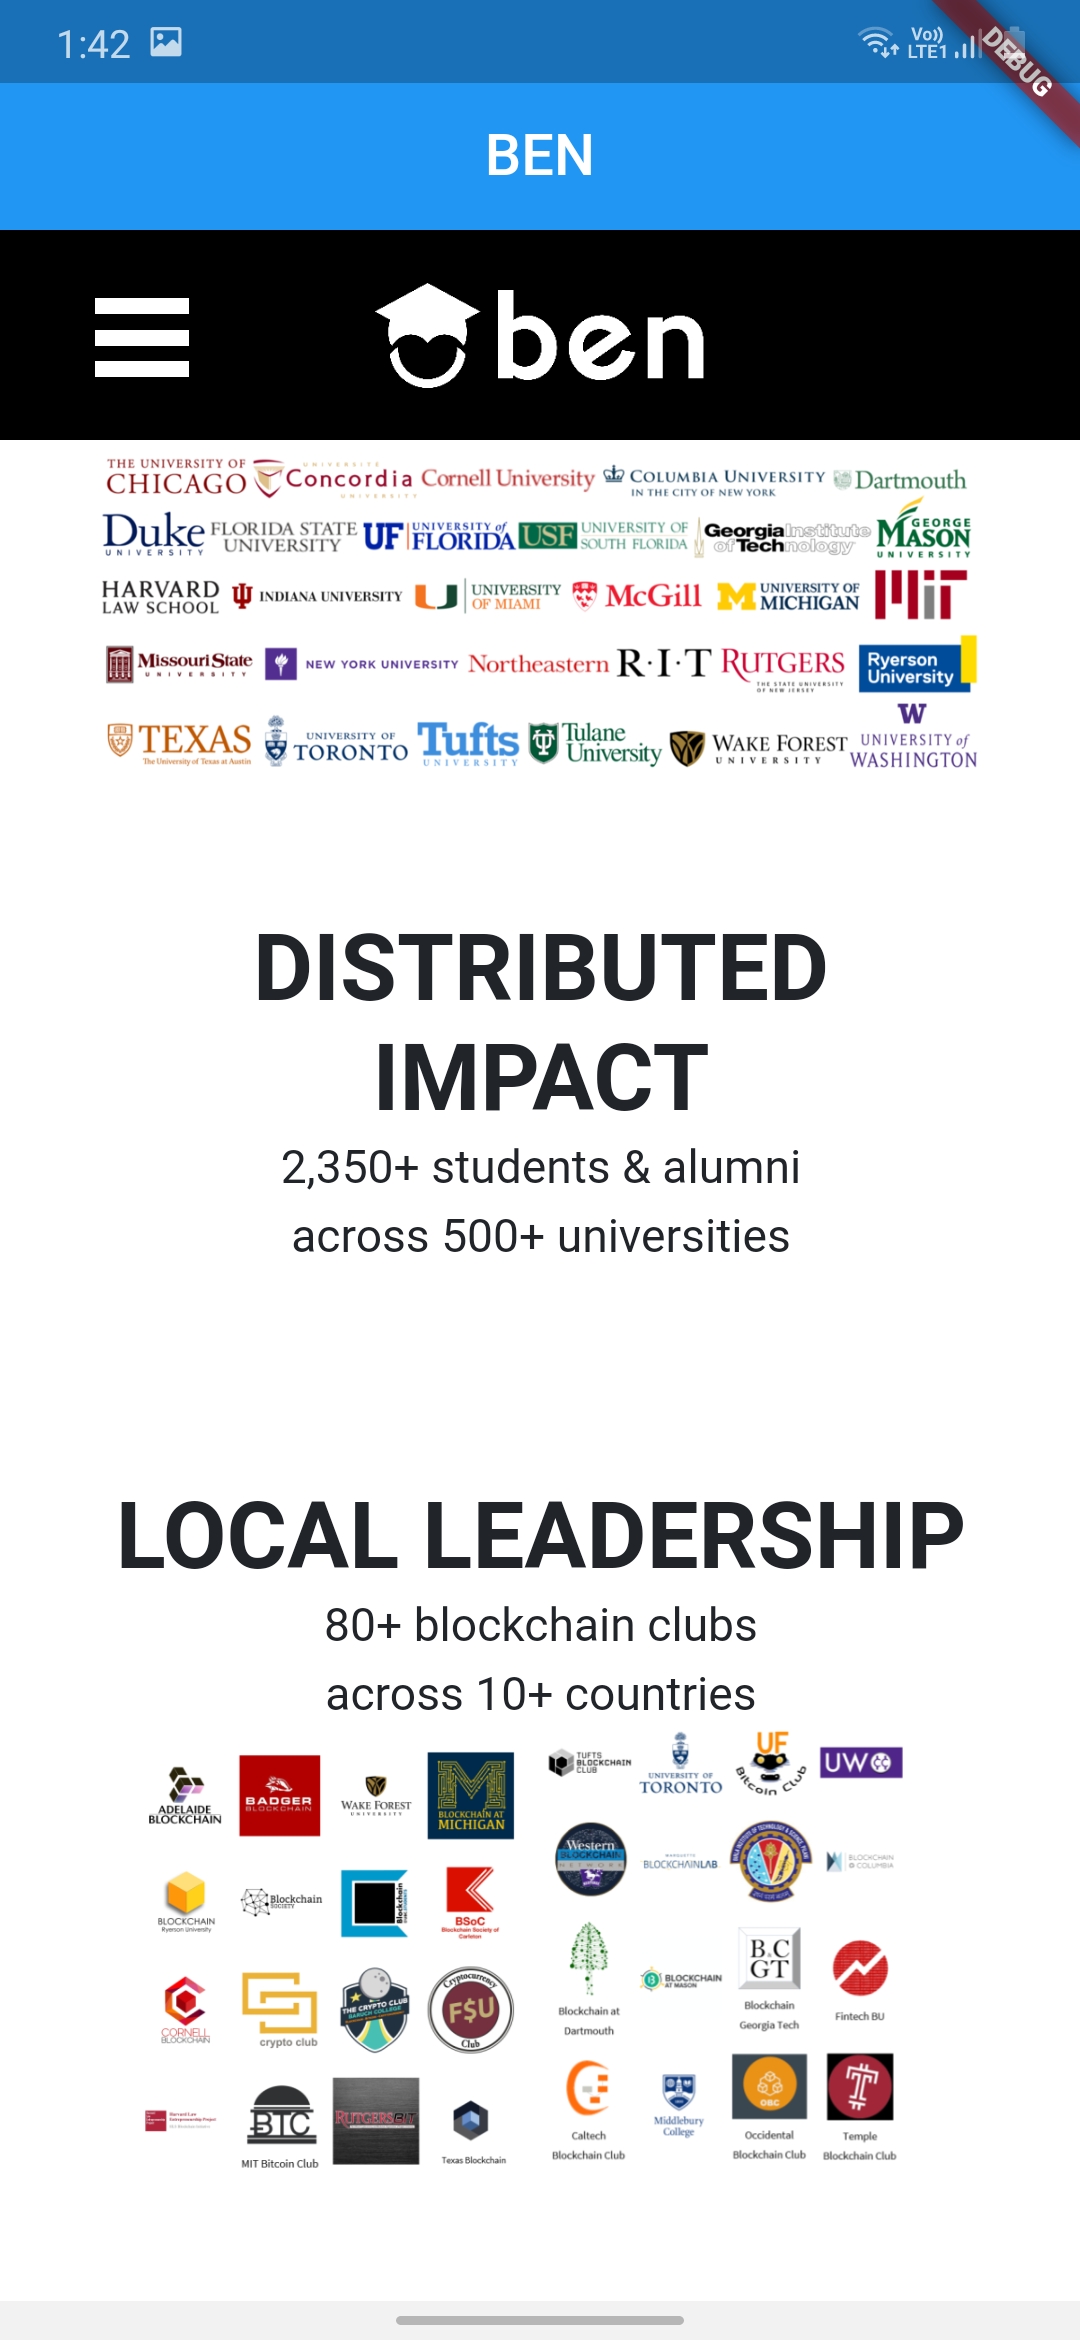
title: Text('BEN'),
subtitle: Text(
'The Blockchain Education Network (BEN) is the largest and longest running network of students, alumni, professors, across the world.'),
),
],
),
),
),
],
),
),
);
}
}
So as we have used multiple cards to link to different websites as shown below to add another website or card copy the inkwell component and add it within the ListViewBuilder
Webview
As we can see in the above OnTap property in the Inkwell property we navigate to a webview but how do we implement one ???
Simple we have already imported our dependencies and we need to create a stateless widget to link the OnTap handler
class Ben extends StatelessWidget {
@override
Widget build(BuildContext context) {
    return MaterialApp(
    home: Scaffold(
        appBar: AppBar(
        title: Center(child: Text("BEN")),
        ),
        body: WebView(
        initialUrl: 'https://blockchainedu.org/',
        javascriptMode: JavascriptMode.unrestricted,
        ),
    ),
    );
}
}
This provides the webview for the app by opening a browser within the app itself without opening the browser by leaving the app !!!
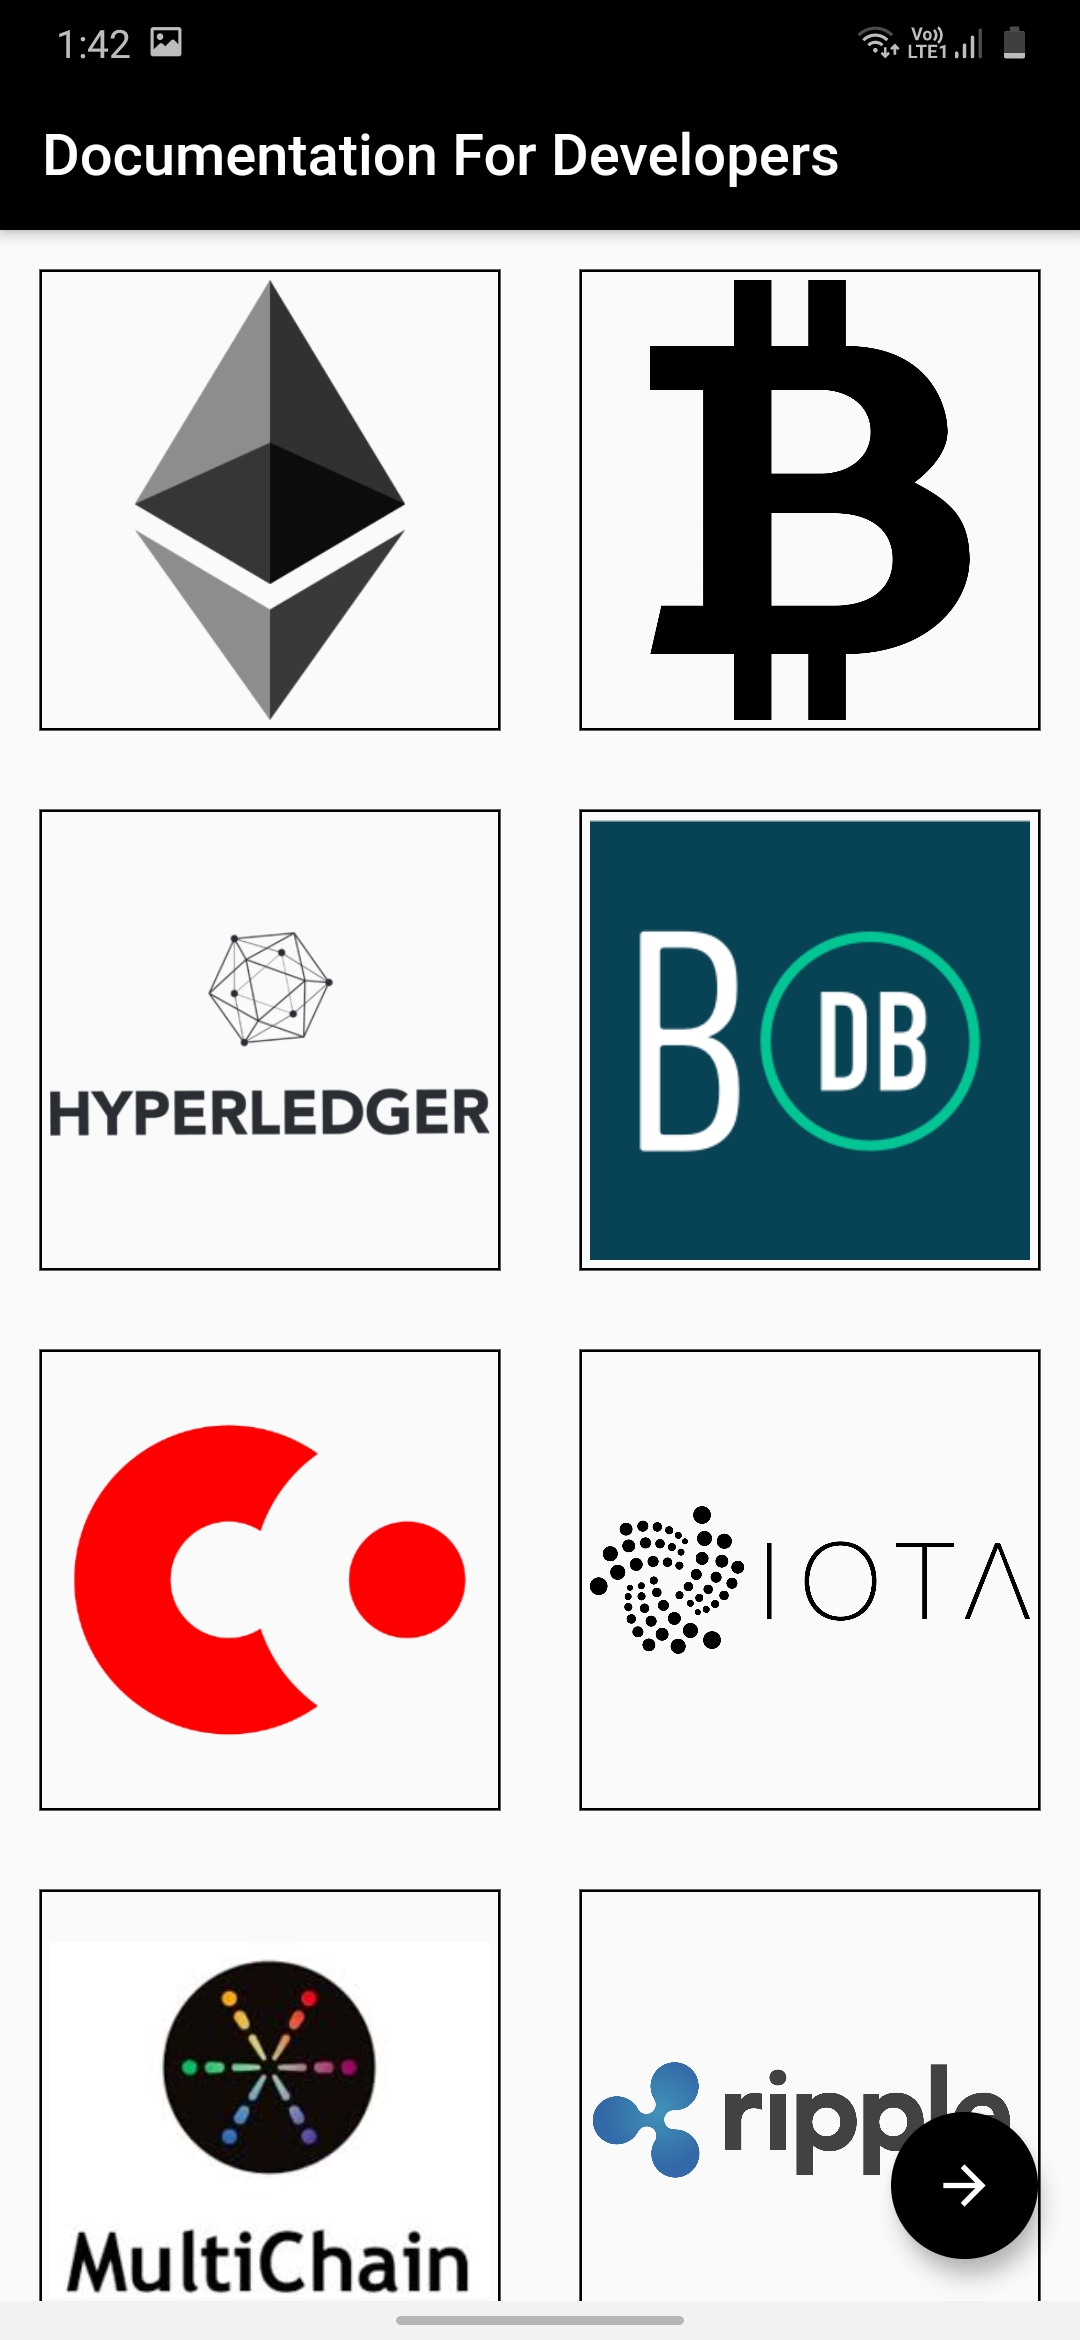
Third Screen
In the second screen of the app we have seen that there are several online free resources to learn about blockchain and different technologies .
Its time to put those practical skills to use !! We need to follow a specific guide to develop an app or a product
Hence our third screen has a list of documentation website of popular websites
Fourth Screen:
Once we have learnt how to build a working prototype lets launch it in a real world scenario !!
The fourth screen has a list of hackathons !!
Ever wonder what a hackathon is ??
Don’t worry , Check out this blog on a Beginners Guide to Hackathons
Conclusion
We now have a cross platform app built using only three widgets , WICKED
The complete code can be found in the link below , gitclone and run the pub get in the pubspeck yaml file to successfully run the app Github
Hari Pranav A
My research interests include Decentralized Computing, Cloud Security and Dev Ops